|
|
|
Back to - Articles & Reports
ELECTRIC LAZY BEE
Kit: Clancy Lazy Bee
Electric Version By Ron Fikes
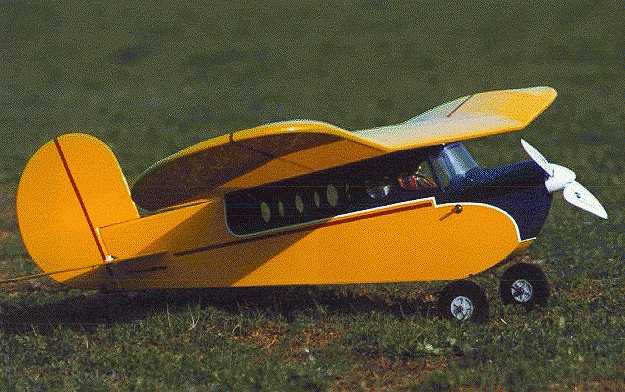
I built my Lazy Bee from Clancy's plans (they are good plans and allow you to pick the very best wood). I made up two bulkheads from 1/16" aircraft ply - one that goes from the top to bottom at the trailing edge location. Another one went from top to bottom but at the leading edge location. These were liberally cut out but gave strength to the wing bolt-on locations and spread out the landing gear and wing (flying?) loads.
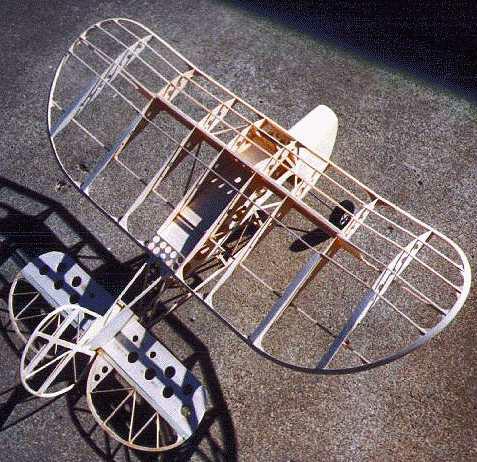
In addition to the bulkheads at the leading edge and trailing edge, I used a 1/16" ply 'tray' running horizontally (glued in solidly front to back and side to side) at the window level from the front to the rear bulkhead. I drilled lots of holes in that plate and the battery was placed on top of this plate. The battery was accessed through the top (the wing, being bolted on, was removed with one bolt). Modify the wing when building, put two ribs in the center, spaced out the width of the fuse and sheet with 1/16" balsa top and bottom. Use your favorite wing bolt-down method. I felt that the location of the battery would be better, closer to the CG position (instead of in the belly of the plane) and it proved right as the plane rolls and flyies inverted easily (unlike other Bees at our field). I added a two piece, torsion (3/32" wire) landing gear - tread was 8.5" and raised the plane 1.5". Use large Dave Brown wheels -this gives great lateral stability on the ground and the increased angle of attack made flared, three point landings, perfection! I added a Dubro steerable tail wheel (3/4") mount to the rear of the fuselage on a plywood plate - attaching a tail wheel to the rudder is a NO-NO, all the landing force is transmitted to the rudder hinges and they are no designed to take that beating. With the tail wheel assembly, you can change the sensitivity of the wheel - you want the tail wheel to turn LESS than the rudder. Go carefully with the rudder throw, this full-flying rudder is POWERFULL!
For battery cooling, I made up two windows to fit in the first window openings on each side (stretched plastic with the fronts open) and left the last two round windows on each side at the back of the 'cabin' uncovered for an air outlets. I made a full cowling over the motor (used a Leisure geared 05 with a Master Airscrew electric 11X7 prop - an Astro cobalt 05 would have been even better. Go carefully with the rudder throw, this full-flying rudder is POWERFULL!
I really enjoyed the plane and I think you will have a ball with it...
Ron Fikes
Email at srfikes@earthlink.net
***************************************************
Here are some Frequently Asked questions that were generated from visititors to this article.
***************************************************
> 1) Which Clancy plans did you use with which wingspan for electric?
> 2) Do your wings have ailerons, and if not, do you wish you had them?
> 3) Where did you find or how did you make the two piece torsion landing gear?
> 4) What diameter D. Brown wheels did you use?
> 5) Which tail wheel assembly and tail wheel did you use?
> 6) Is the tail wheel assembly on its own servo?
> 7) Is the landing gear setup heavy enough for backyard grass use?
> 8) Is the nose carved from a solid balsa block?
> 9) What servos, receiver and battery pack are installed?
> 10) Did you use a speed controller and if so, which one?
> 11) What is the average flight time of your setup?
> 12) Why would an Astro Cobalt 05 be better?
> 13) What covering did you use?
Ron Fikes Palo Alto, CA Email at srfikes@earthlink.net