|
|
|
Back to - Articles & Reports
"Name it"
by Ron Fikes at srfikes@earthlink.net
Did you just finish a new plane? Ready to take it out to the field and show off your work and maybe put in a couple of trim flights. One thing may be missing - you need a name and/or numbers on it.
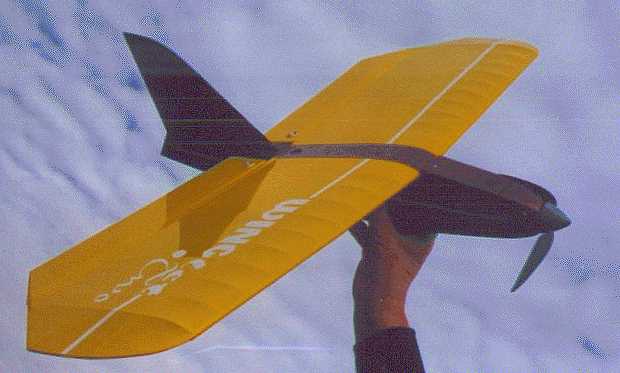
Here is an inexpensive and quick way to get that "Custom" name on your plane at home, with your own hands. The materials used are not fuel proof, so they can be used on electric models, gliders boats, cars and make great window signs for your van, but not for glow models. Theses names / numbers can be made any size, the smallest I have made are 3/8" tall. They can be removed later without leaving that awful sticky mess (use Rubber Cement thinner to remove residue).
Materials:
Self adhesive "Contact" paper (shelf paper by rubbermaid) which you can buy at any hardware store. Buy white, yellow, tan etc. Contact paper -you will need to see through the Contact paper and the pattern paper. (a note on putting this light colored name on a light background will follow). You will also need some transparent Contact paper to use as a carrier sheet.
Exacto #11 blade and handle
Lightbox (a piece of glass with a light under it will suffice
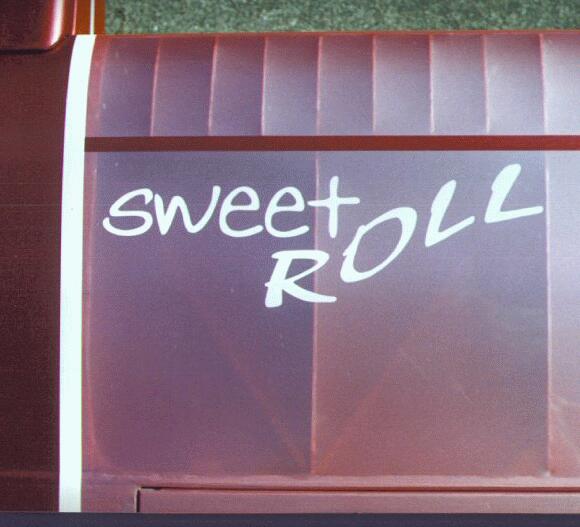
Pattern. I use my computer and the "PrintShop" program by Broderbun ( I love "Mariah" lettering). After you have decided on a name or pattern, lay it out on the computer, shape or reshape until it is as you like it, then print out a copy on thin, white paper. If you like a pattern from a magazine, use a copy machine, enlarging or reducing it as needed. Try to use lettering and number styles that have rounded ends, not sharp serifs or points. Sharp points on the names tend to catch everything and peel up after they are on the plane.
Lets Cut it out:
Turn on the lightbox.
Place your pattern on the lightbox and cut out a piece on t Contact paper a little larger than the outline of the name. Place this piece of Contact paper, backing side down, over the pattern and hold in place with pieces of Scotch tape (not over the lettering that shows through).
Now get out the Exacto knife and some patience. Cut lightly, not cutting through the backing sheet on the Contact paper. Cut the insides of the closed numbers and letters first. Then start the out line - turn the pattern and cut lightly and slowly.
When you have cut around all the edges, start removing the insides of the O's and other enclosed letter & number segments. Use the point of the Exacto blade to lift them out. If any stick, re cut that portion. Now remove the outside - cut from the letter edge to the outside in numerous places, then using the Exacto point, start to peel from one end, around the edge. Cut the excess whenever needed to keep the letters from lifting from the backing. Go Slowly! What you will be left with is the "name" on the backing paper.
Cut a piece of the "transparent" Contact paper (Its not clear but frosty) just large enough to cover the name portion. Peel the backing off the "transparent" Contact paper and smooth it down on top of the name.
Clean the planes surface before you apply the name. Use rubbing alcohol or rubber cement thinner (any cleaner that leaves no residue).
Now you can lift the name sheet and slowly peel off the backing sheet from the name. You are now holding the name, on a clear carrier sheet (the "transparent" contact paper), go to the plane and position it where you want it. Slowly lower the sheet onto the plane, putting down one end first then smoothing it to the other end. Burnish it down with the clear carrier sheet still in place.
Peel the carrier sheet off slowly while puling it back on itself 180 degrees. It may pull up small parts as you do this. If this happens, Stop and press the name back down and continue.
When the carrier sheet is off, burnish the name down. Over open framework, burnish carefully, you can press harder on solid wood.
Note: you can't use dark colors of Contact paper for names because you must be able to see the pattern through the material, but if you to put a name on a lightly colored wing, try the following: after you have cut out your "name", peel off the backing sheet and instead of applying it to the plane, apply on to a dark colored sheet of Contact paper or Monokote trim sheet. Cut around the lettering in a shadow pattern, leaving as much of the dark as you want and apply this double-layered "shadow" lettering to the plane.
This may sound complicated, but it gets easier after you have done a few.
Ron Fikes at srfikes@earthlink.net